This website uses affiliate links that may earn commission from purchases. This is at no additional cost to you.
Day 6 of Cookiemas 2025.

Korekomki is a little cookie that has a buttery and flaky texture. They are also known as “ballerina” cookies. From the web searching I did, it seems most Eastern European grandma’s have this recipe in their books but a viewer suggested it from the Bulgarian perspective. That’s why this recipe is called Korekomki.
Surprisingly during my research, there were less recipes than I expected and many of them in Bulgarian (or at least not using the latin alphabet). I ended up kind of making my own recipe using multiples that I found online including those automatically translated.
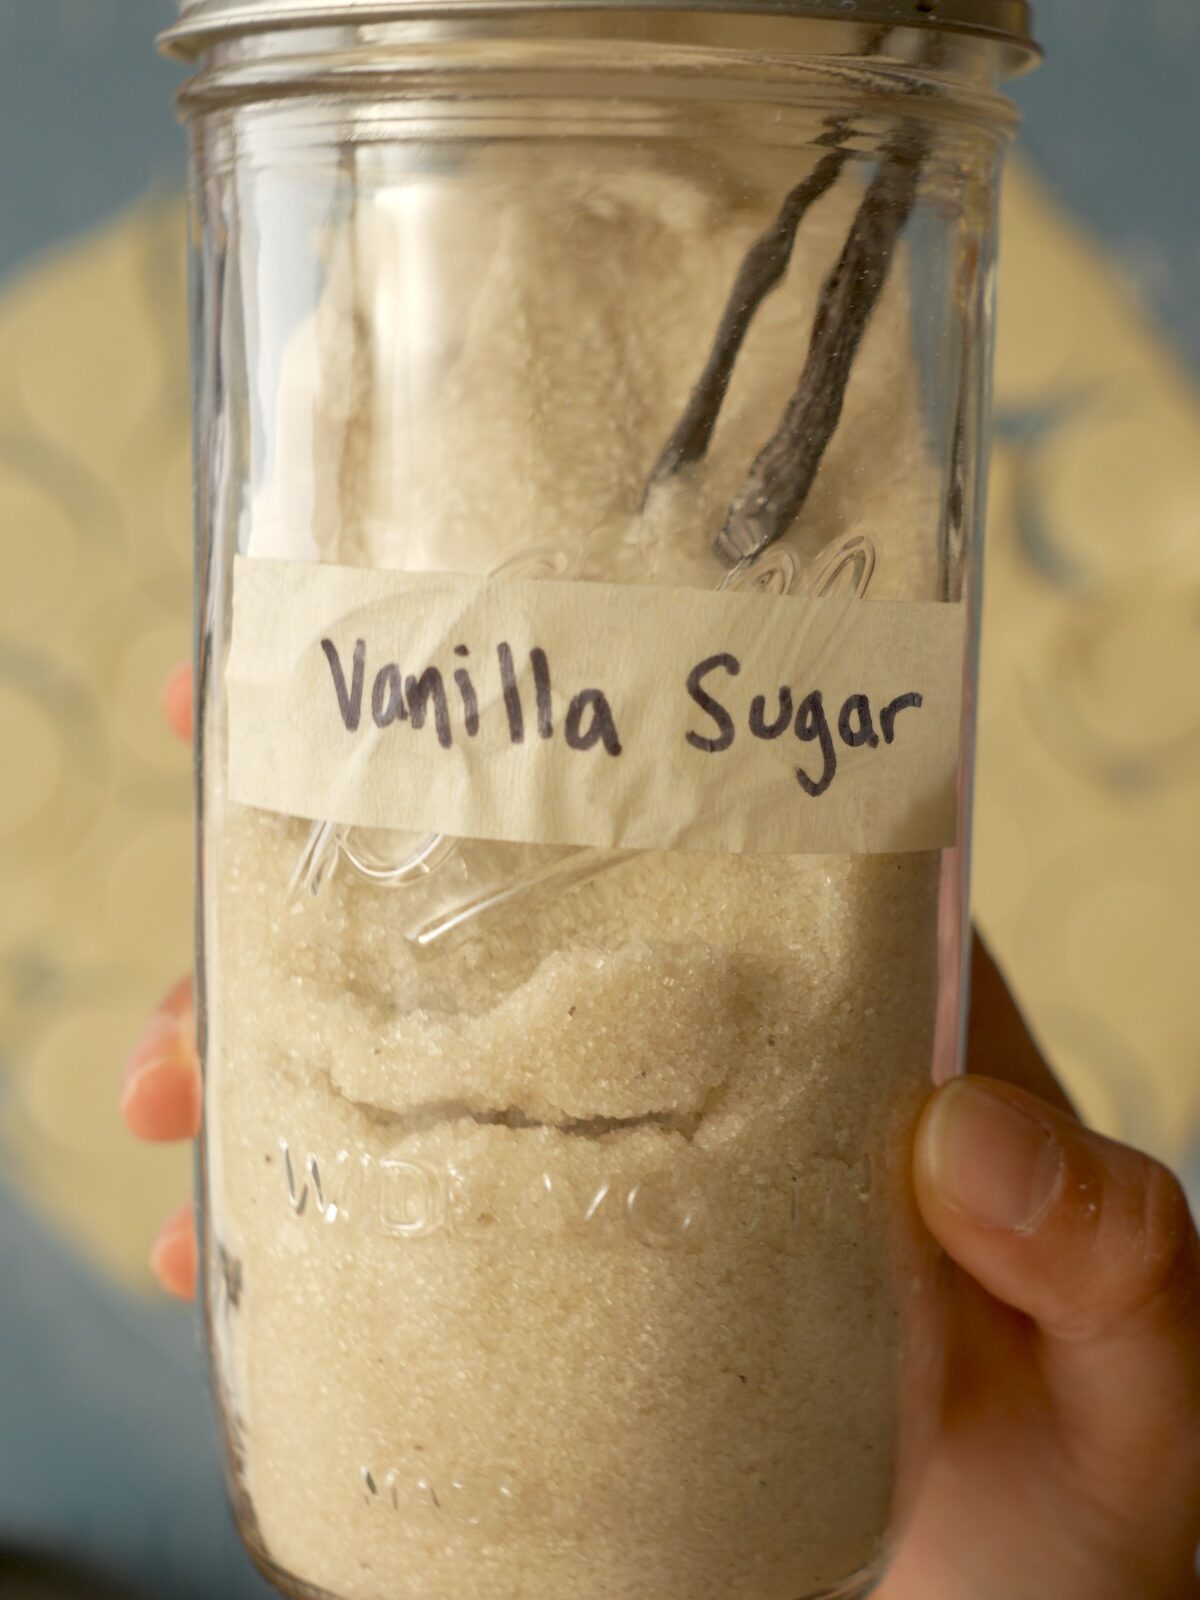
I think this recipe turned out really good! The cream cheese gives it a little bit of tartness. The texture reminds me of a non-flaky palmier. An important part of the texture is the granulated sugar coating. For this, I made a vanilla sugar using some vanilla beans I had.
This korekomki recipe is super easy to make and only really has 4 ingredients. While shaping so many tiny cookies might take a while, I think it is worth it because it is so delicious and so cute at the same time!
Step-by-step: How to Make Korekomki
For full list of ingredients and detailed steps, check out the bottom of this page.
Korekomki is very simple to make: mix the butter and cream cheese. Add the flour. Refrigerate for some time, then roll out the dough and shape the cookies. Lastly, you just have to bake them! Here are some photos to help.

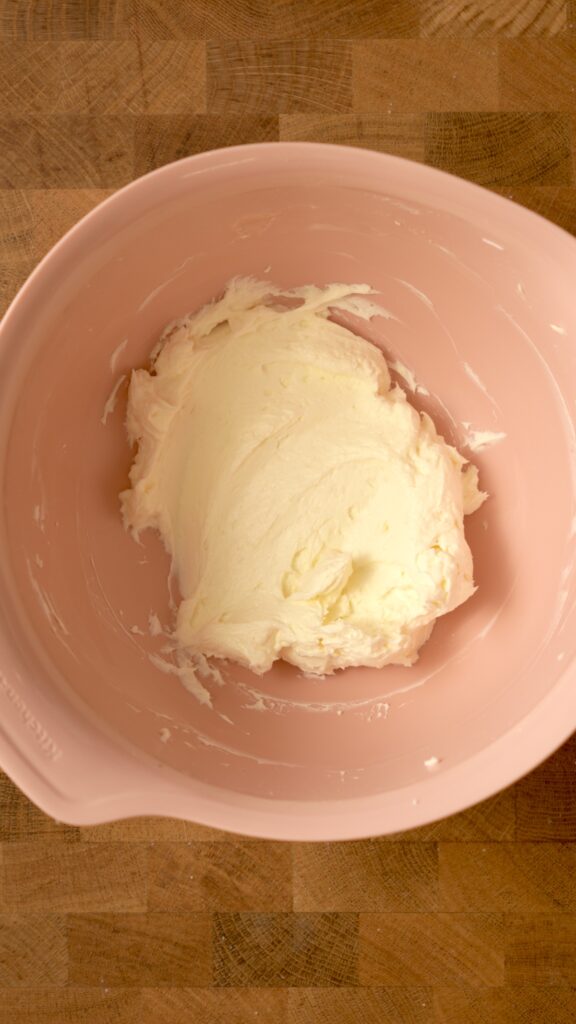
Mix butter and cream cheese before adding flour

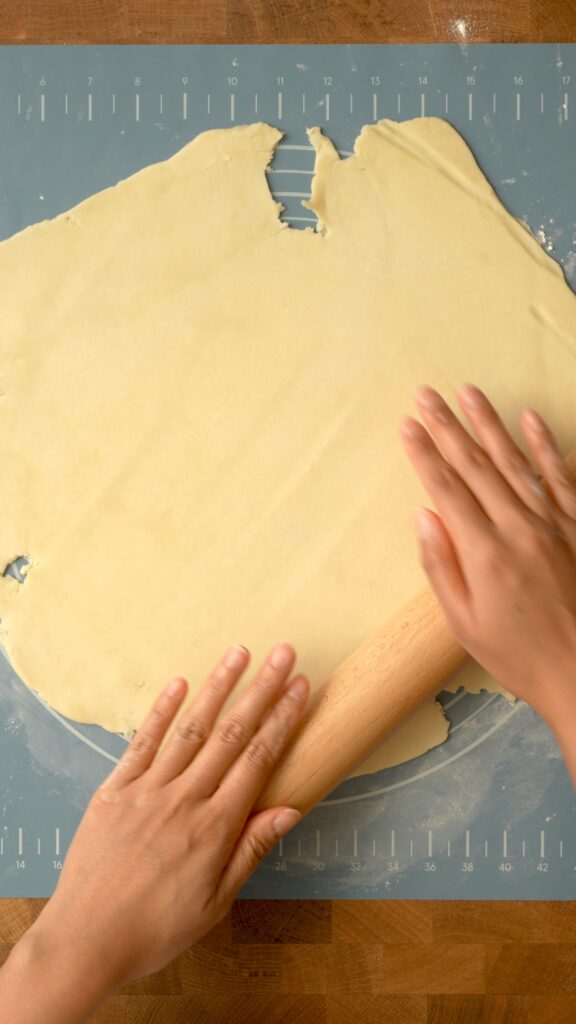
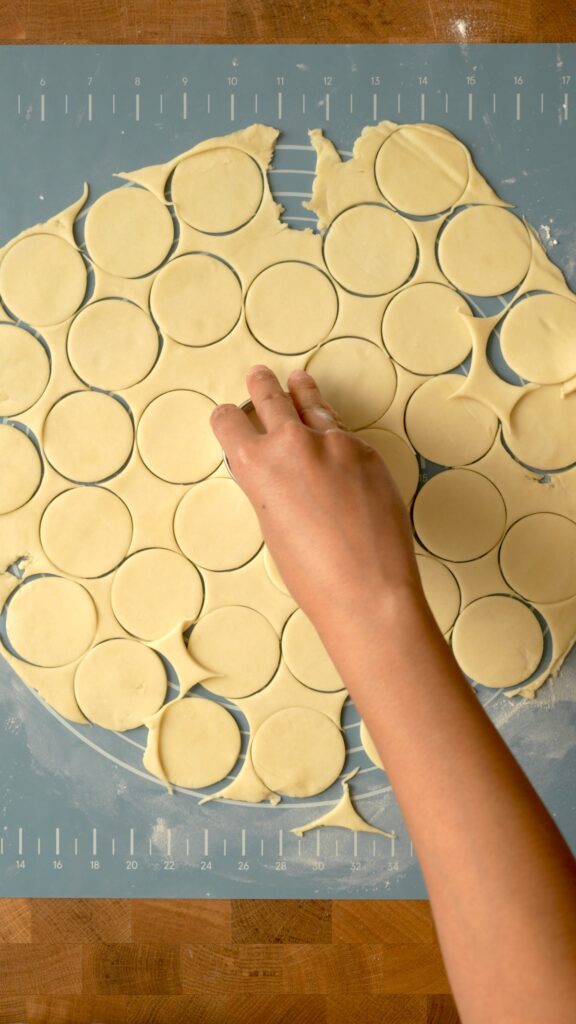
After refrigerating the dough, roll it out rather thinly (thinner than 1/4 inch) and cut with a cookie cutter.


Dredge the dough circles in the granulated vanilla sugar and then fold in half twice to get these cute little shapes. Be sure to pinch the sides well so they don’t open up when baking.
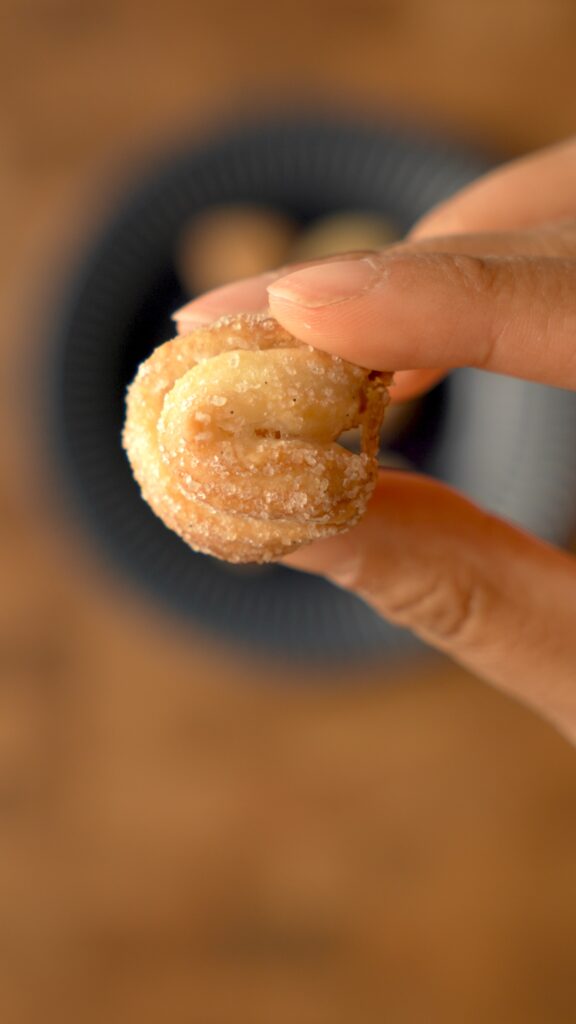

After baking and cooling, enjoy with a cup of coffee or tea!
Tips when making Korekomki
Don’t Overmix
Be sure not to over mix the butter and cream cheese. You don’t want to incorporate too much air into the dough
You want firm dough before shaping
After mixing, my dough was rather soft so I wrapped in plastic wrap and put it in the fridge for about an hour. This will firm up the dough since it is nearly half butter and cream cheese.
Roll the dough thin
When shaping, I rolled my dough rather thin as you can see in the photos. I would say it was thinner than 1/4 inch. I also used a 5cm (2 inch) diameter circular cookie cutter
Pinch the sides
When shaping, be sure to pinch the sides well so they do not unfurl when baking.
Recipe
Ingredients
Method
- In a mixing bowl, add the butter (not melted) and cream cheese. I recommend a hand mixer to speed this up but you want to mix until uniform.
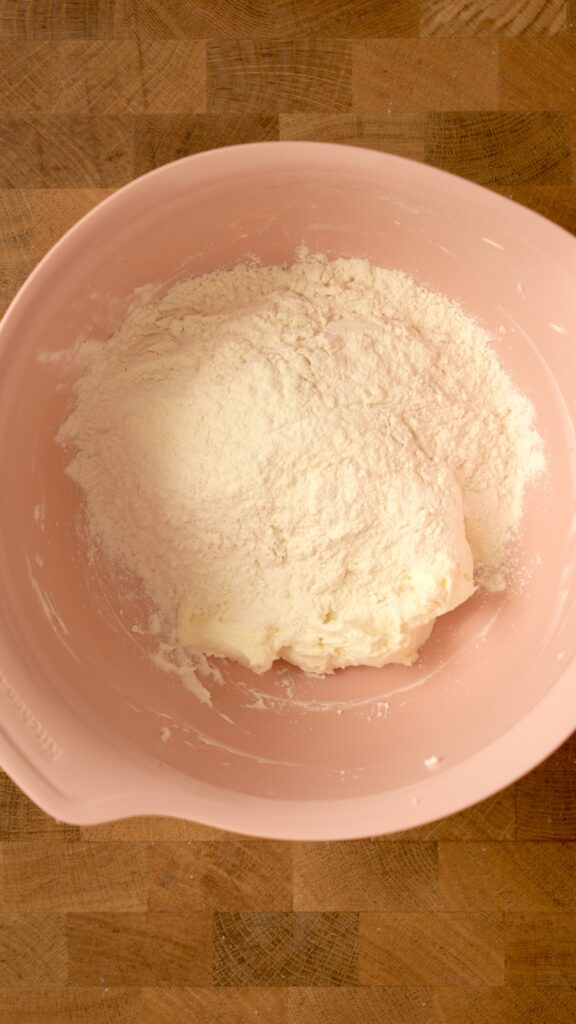
- Add the flour and mix again until the dough is again uniform throughout.
- Wrap the dough in plastic wrap and place in the refrigerator for at least an hour to chill the dough.
- Preheat the oven to 400℉ (200℃).
- When the dough reaches a cold firmness, roll it out on a well-floured surface. You want to roll it quite thin, about ¼ an inch or thinner. I recommend using a silicone baking mat for this.
- Next, use a 5 centimeter (~ 2 inch) diameter cookie cutter to create circles of dough. Collect the scraps and roll it out again and cut again so you don't waste any dough.
- Next, in a small bowl, pour the vanilla sugar (or granulated sugar). You really just need enough to coat all the circles on both sides.
- Dredge a circle of dough in the sugar and then fold twice so it is a quarter circle. Be sure to pinch the sides to prevent it from unfurling during the bake.
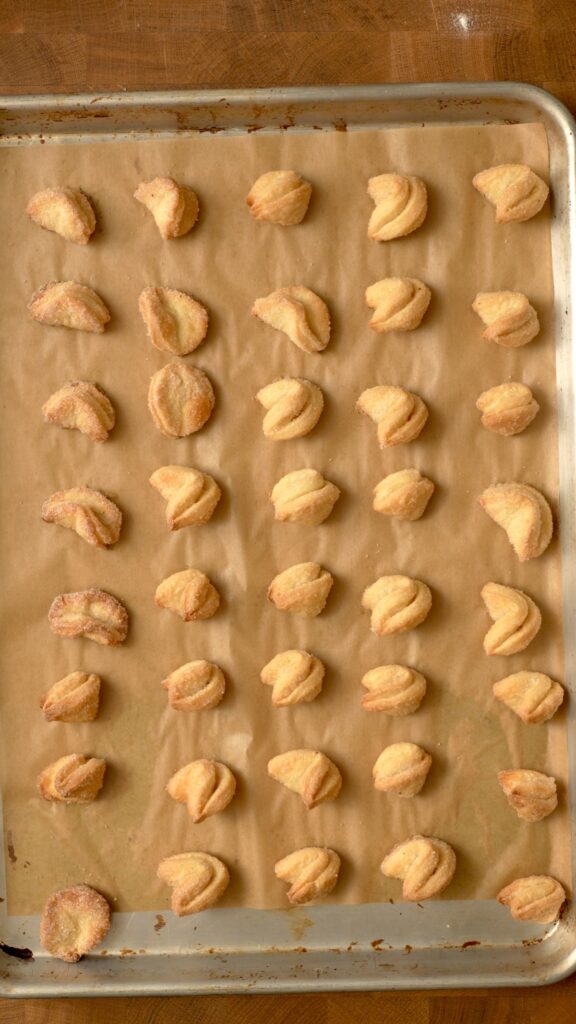
- Do this for all the circles of dough and place them on a baking sheet lined with parchment paper.
- Bake in the oven at 400℉ (200℃) for 12 – 15 minutes until golden brown.
- Remove from the oven and enjoy with tea or coffee!
Tools and Equipment
Silicone Baking Mat (Silpat)
This is the silicone baking mat I use most often. I use it more for shaping and portioning rather than actual baking but this is what you would want to use for macarons.
Other Cookie Recipes
This was Day 6 of Cookiemas! Here’s the other days:
- Caramel Cuts. Really just brown sugar blondies. Very soft and tasty from Doug’s childhood
- Anzac Biscuits. An Australian oat cookie with coconut. I actually had to make this again at the request of my mom.
- Vaniljekranse. Danish Butter Cookies. Like the ones you find in the tins.
- Sagu Keju. Tapioca and Cheese Cookies. Very powdery and cheesy.
- Roccoco. An Italian spice cookie. Full of holiday flavors