This website uses affiliate links that may earn commission from purchases. This is at no additional cost to you.
↓ Jump to Recipe ↓Ensaymada is an extremely popular bread from the Philippines. My mom and sister will beg me to make this for them. It may not be the quickest to make but it isn’t all that difficult! Give it a try and you’ll impress anyone who takes a bite!
Ensaymada stems from Mallorca, Spain, and it’s referred to as “Ensaïmada Mallorquina” or “Ensaïmada de Mallorca”. With the history of Spanish colonization, it made its way to the Philippines.
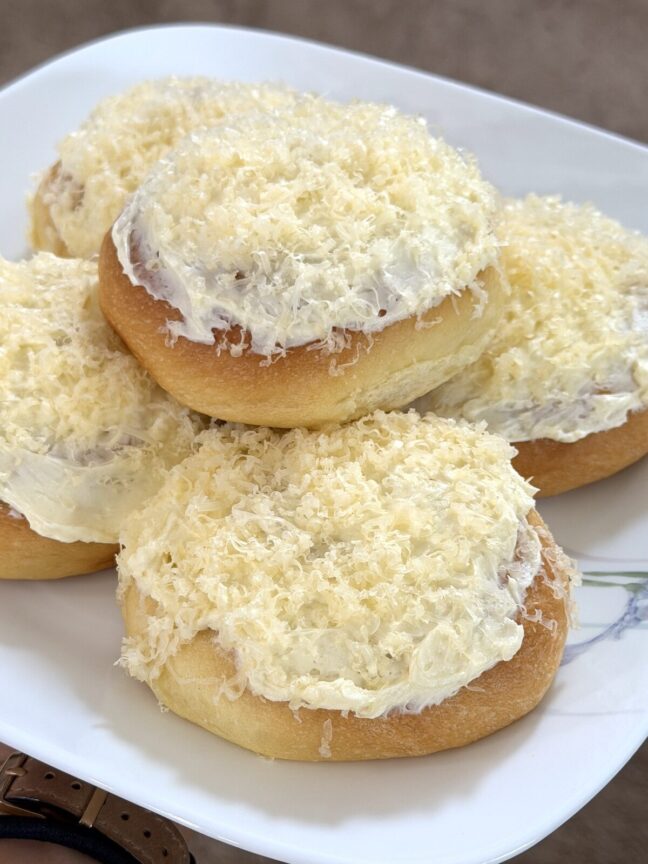
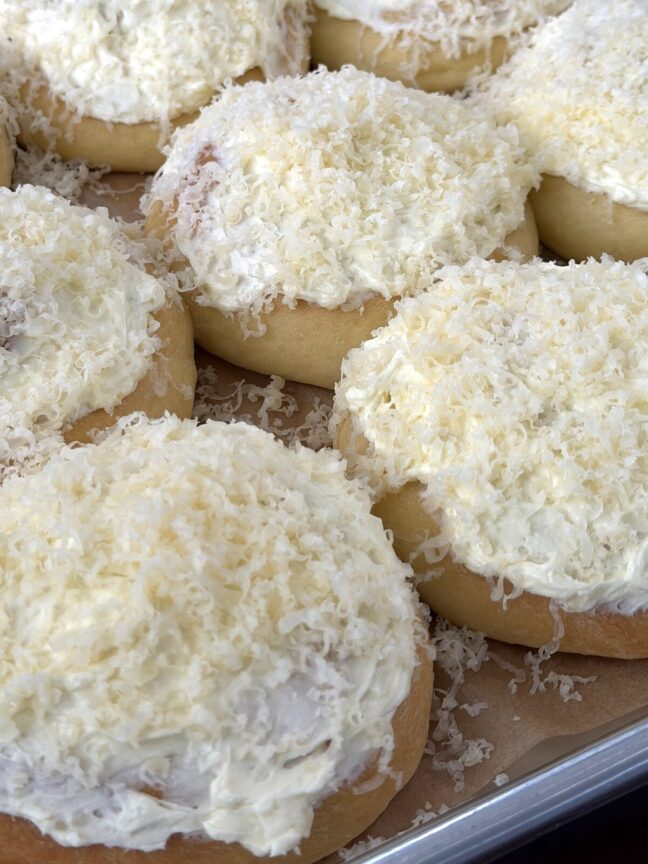
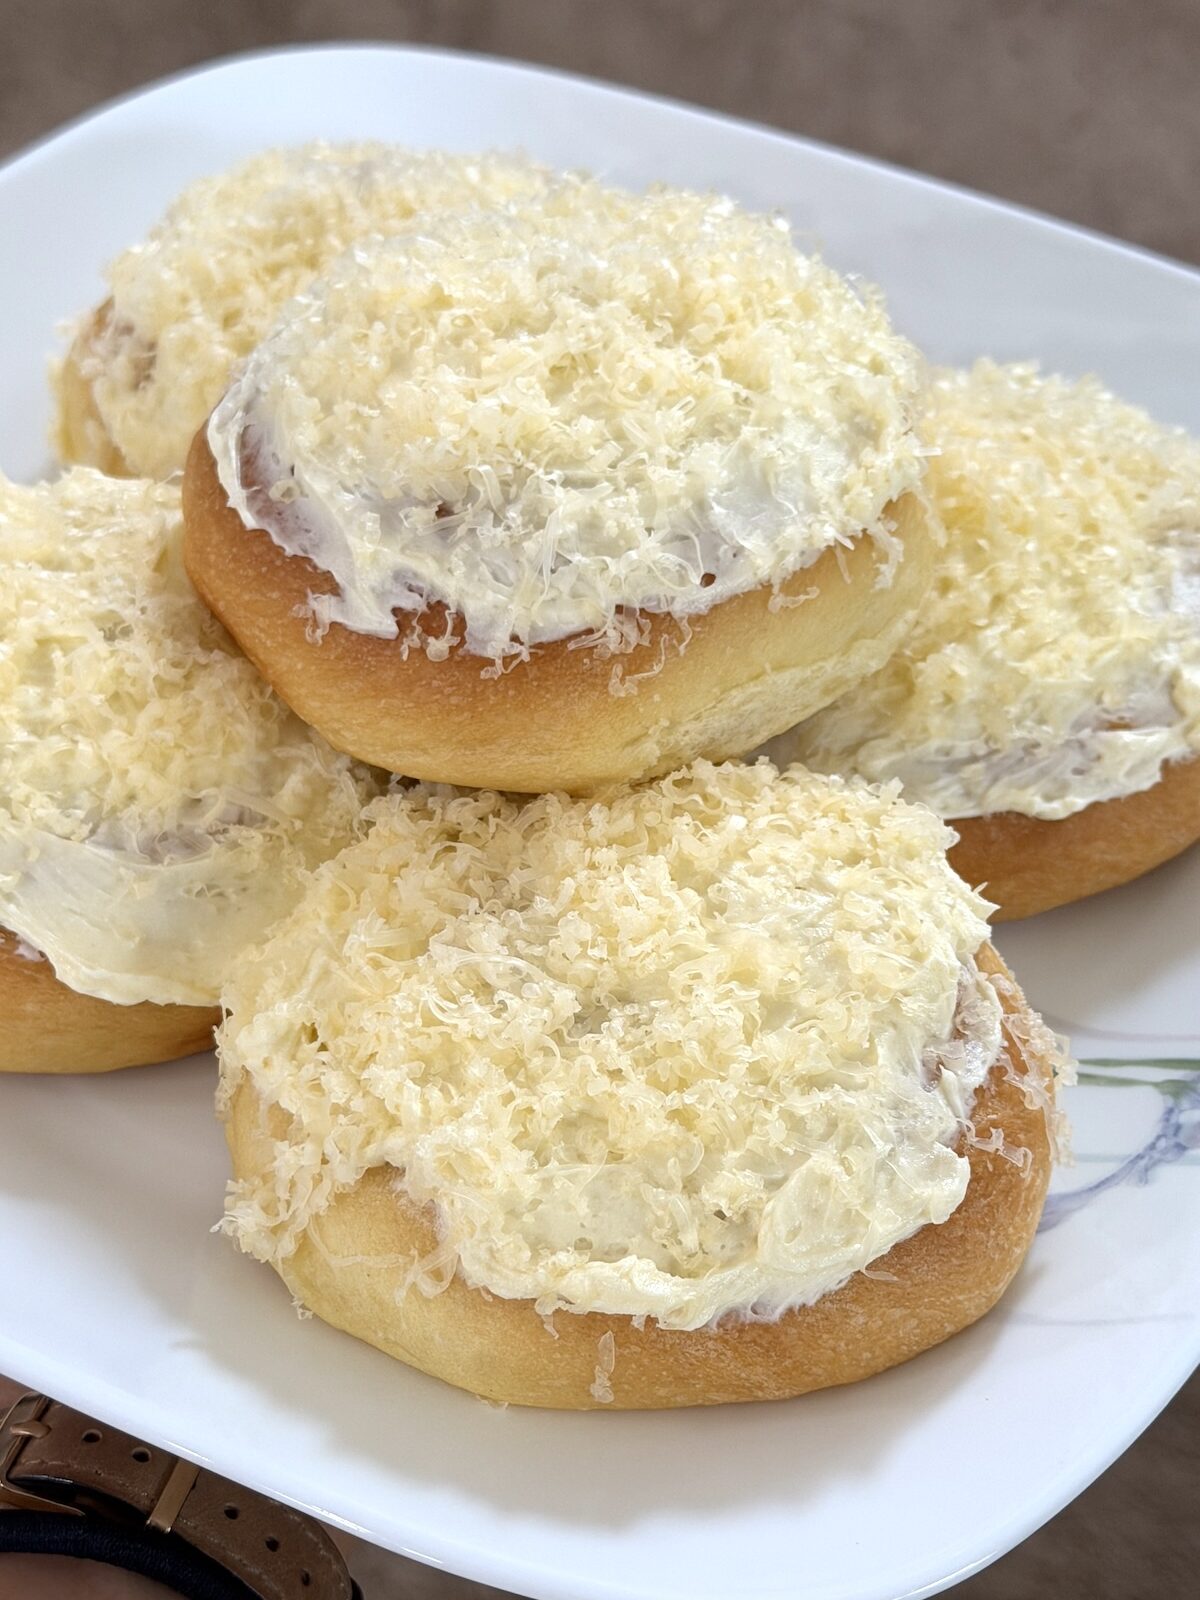
Filipino ensaymada is LUSCIOUS. The bread is soft and buttery (it’s really loaded with butter), topped with even MORE butter and sugar, then perfected with a mountain of shredded cheese.
This time, I shape the breads into small rolls and bake them in my smallest tins. You can shape them into any size you want including one large loaf tin. Just remember you will need to increase the bake time if you choose to shape into larger rolls.
What Toppings Go On Ensaymada?
The classic topping is a basic butter cream frosting with salty cheese. If you have access to Eden Cheese, a brand from the Philippines, then you have the quintessential topping. Unfortunately, that isn’t always easy (or cheap) to get where I live so I will substitute for a salty cheese.
Depending on my mood, I’ll substitute with Velveeta or, as this recipe calls for, Dutch Edam Cheese. Just grate it on top for that extra salty boost!
Step-by-step Instructions
For full list of ingredients and detailed steps, jump to recipe ↓To make ensaymada, you start by making a simple milk bread, topping it with a sweet spread and then finishing it off with yellow cheese!
The milk bread base is from my super yummy and popular pandesal recipe (without the crumb topping of course) but I’ve also included the instructions on this page.
I’ve put some photos to help guide you along the way.
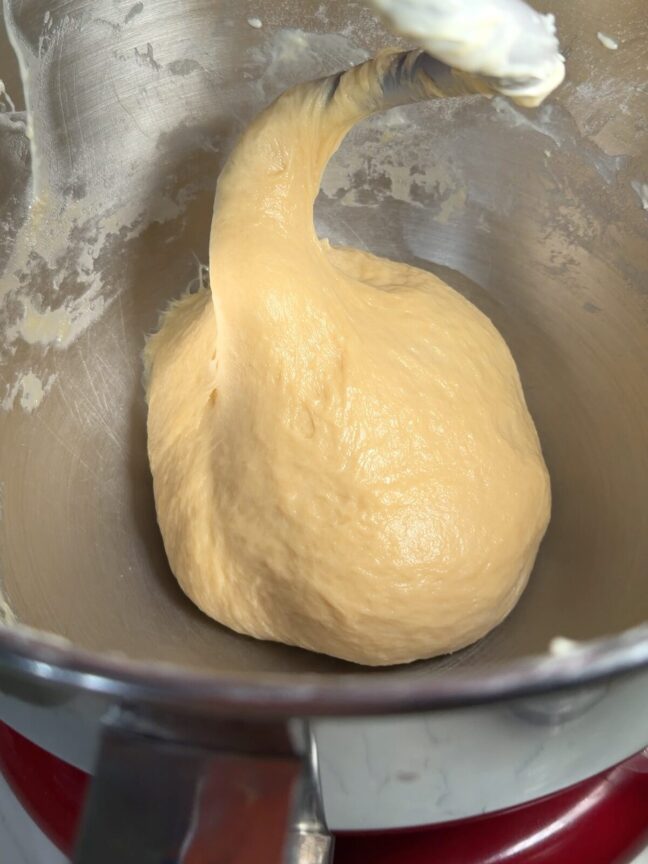
First, make the buttery bread dough. Knead it until the dough is smooth (see image below). This is much easier done with a stand mixer.
It’s similar to a brioche with high butter content, so the dough will be very rich and sticky.
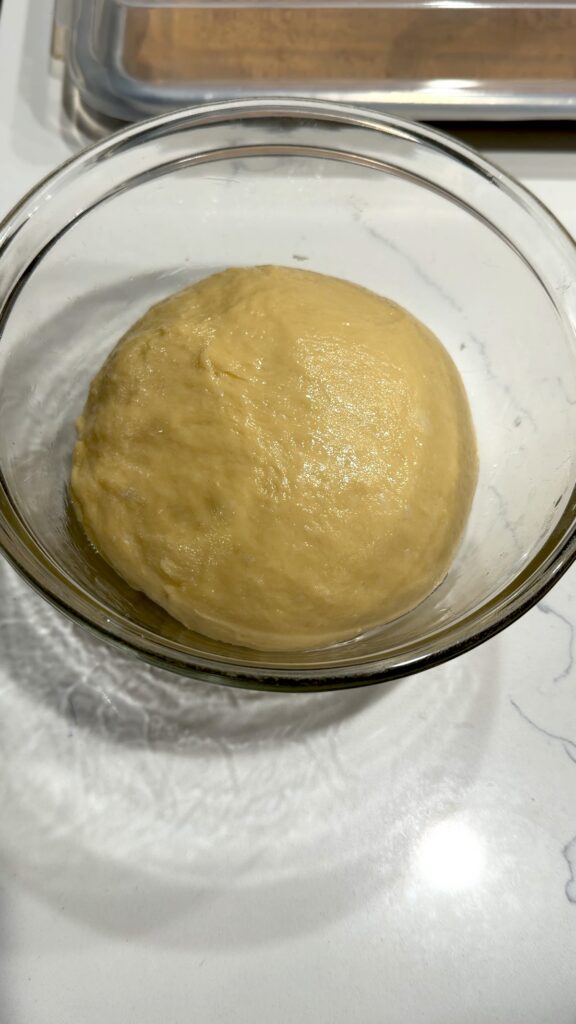
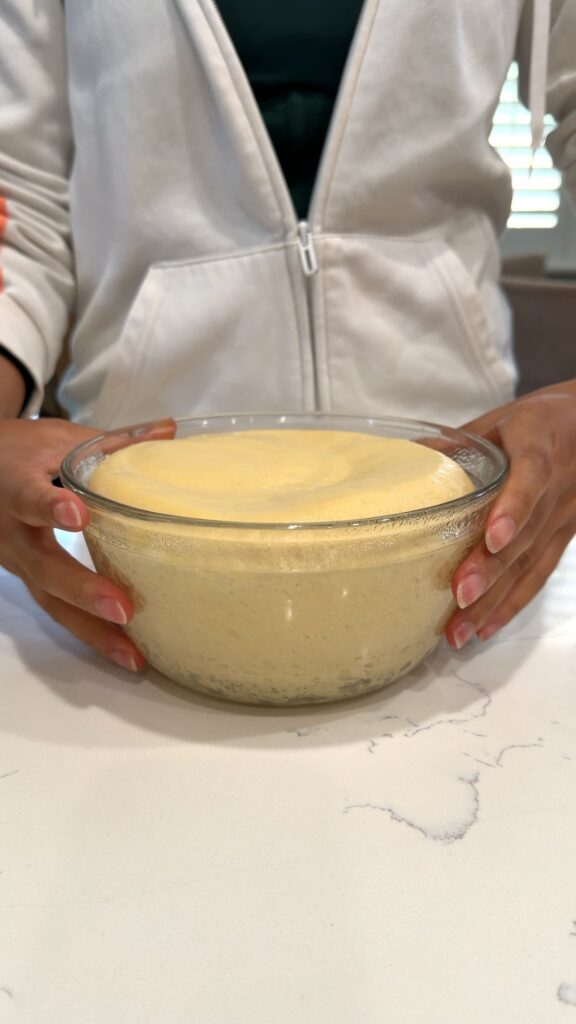
Let the dough proof in the fridge overnight. Colder dough will be easier to handle, since it’s a very buttery dough.
If you’re on a time crunch, you can let it proof at room temperature for an hour (but the sticky dough will be softer and slightly more difficult to handle).
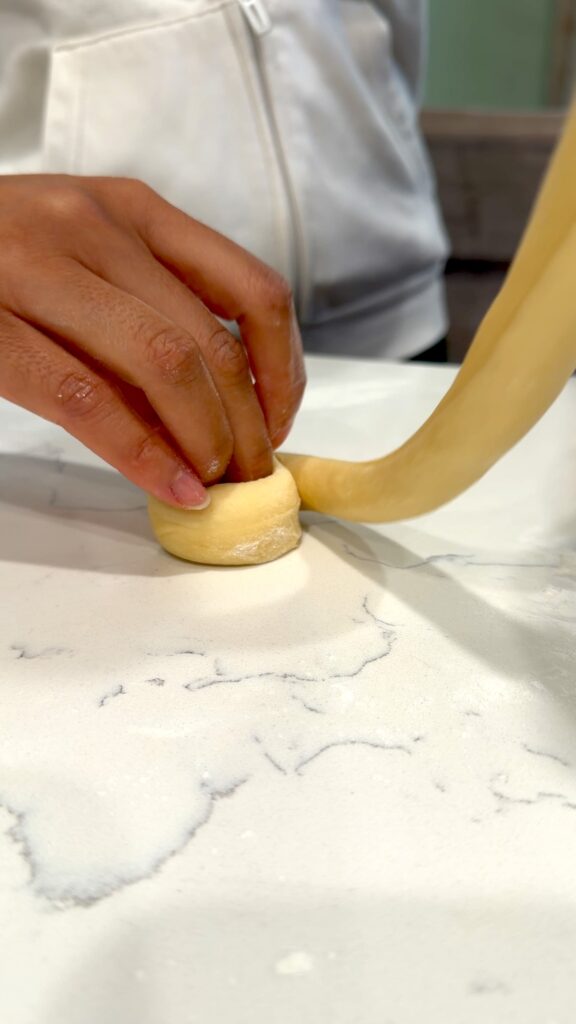
Shape the dough! You don’t have to shape them how I did here, you can also shape them into dough balls and evenly space them apart on a half-size baking sheet.
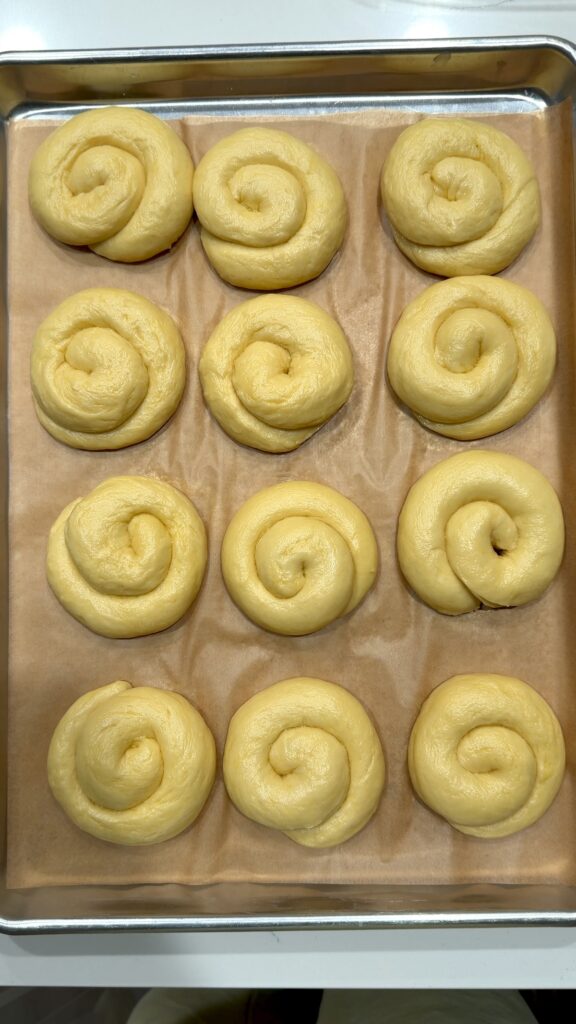
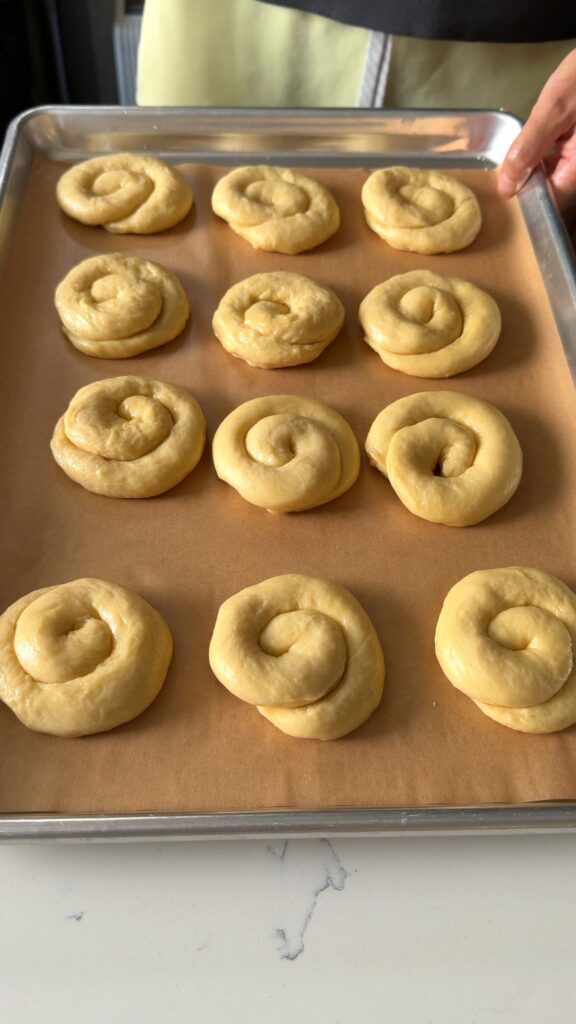
After shaping, let them proof once again, covered with an airtight lid or plastic wrap.

It’s baking time! Bake the dough at 325F or 160C for 25 minutes, or until the dough has reached an internal temperature of 190F-210F (88C-100C).
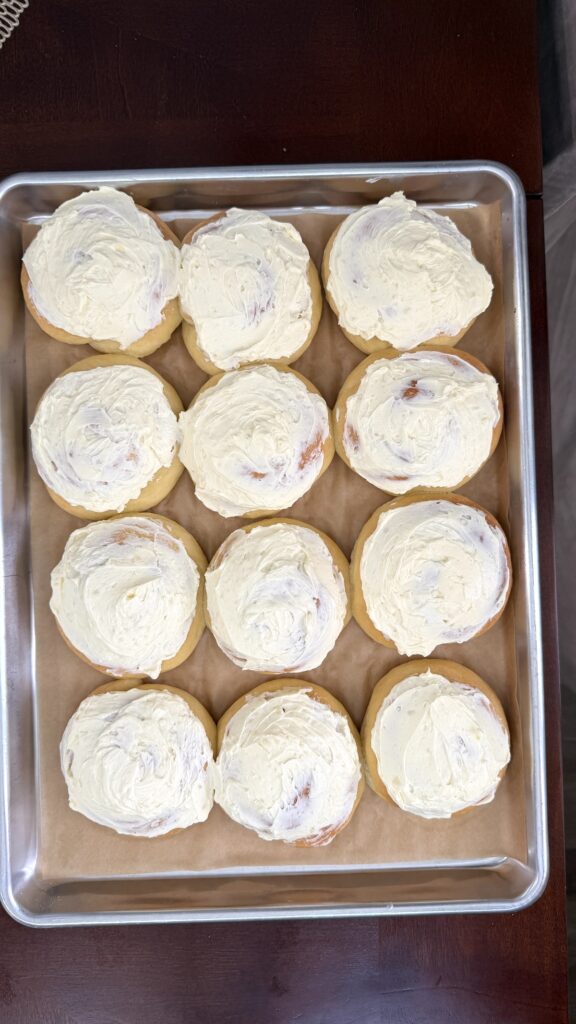
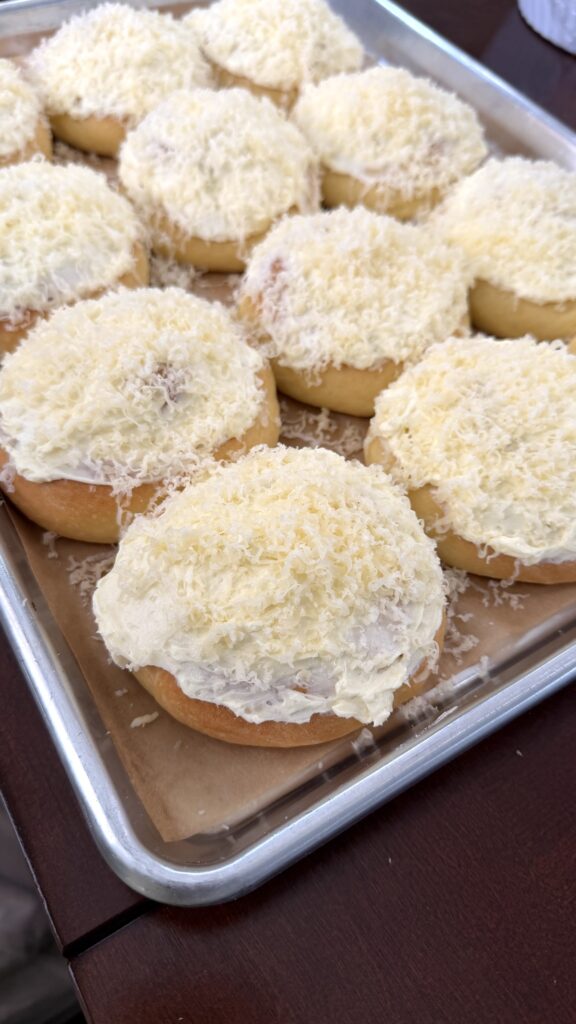
While this is baking, you can work on the topping. It’s simply butter and sugar whipped together. Finally top it with a salty semi-hard cheese, such as Edam.
Tips
Try using cream cheese instead of butter for your topping, add a bit more sugar, and whip it up for a thicker cream cheese frosting!
I highly recommend using powdered sugar for the topping. It will result in a smoother, creamier frosting. If you do elect to go with granulated sugar, continue whipping the sugar and butter until the sugar granules are fully dissolved. Otherwise you will end up with a gritty, crunchy frosting.
Optional: Use a torch to melt the cheese on top, or place the finished ensaymada in the broiler on high for a few minutes for ooey gooey cheesy goodness! (do this quickly so the butter doesn’t completely melt and slide off)
Tools
Ozeri Food Scale
Especially with baking, a food scale is extremely helpful as it measures weight, not volume, which is more accurate. You should use weight measurements if a recipe provides them.
KitchenAid Stand Mixer
I absolutely LOVE my tilt head stand mixer. I can’t imagine baking without it.
Diamond Kosher Salt
When you need salt, this is the one.
Recipe
Ensaymada
Ingredients
Method
- In a stand mixer, mix in flour, sugar, yeast, and salt, making sure the salt doesn’t make direct contact with the yeast. Mix all the dry ingredients well together.
- Add the eggs and milk. Mix until all the flour has been picked up. Scrape the sides of the bowl as necessary.
- Knead the dough for about 5-7 minutes on low speed.
- While the mixer is still on low speed, add the butter.
- Keep the mixer on low speed and knead for another 20-25 minutes, or until the dough passes the windowpane test.
- Scrape the sides and cover. Proof in the fridge overnight. I recommend placing in the refrigerator overnight because the dough contains a lot of butter which is easier to work with when shaping. If you cannot wait overnight, simply cover and allow the dough to proof at warm room temperature for at least 1 hour or until it has doubled in size.
- Once the dough has finished its first proof, shape the dough however you please. I divided mine by weight into 12 equal pieces which ended up being about 65g each. Then shaped into swirly rolls. You can divide the dough into less equal pieces for bigger rolls or more pieces for smaller rolls.
- Place the shaped dough onto a baking sheet lined with parchment paper and cover. Allow the dough to rise again at warm room temperature for about 30-60 minutes or until doubled in size.
- Preheat the oven to 325ºF (160ºC). Once preheated, place the dough inside the oven and bake for about 25 minutes or until the tops are golden brown. Allow the bread to fully cool down before placing the toppings.
- In a medium-sized bowl, cream together the butter and sugar. Slather evenly across the tops of the bread, and finish off with a generous heap of grated cheese.